Aval's School of Insulation
Each building loses a certain of heat. One way to minimize the one is the proper implementation of building thermal insulation.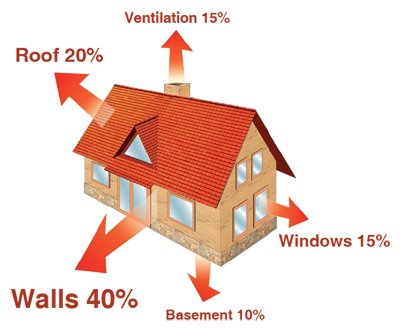
The most commonly used way of the building insulation is light-wet method, also known as external wall insulation system (EWI).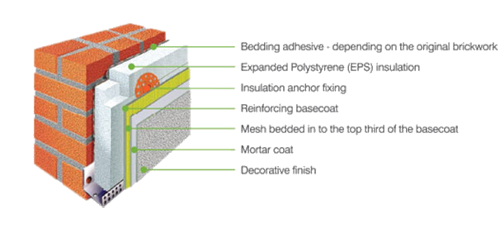
Jus Insulation Ltd as a leading specialist in EWI provides an excellent service with high standards. Our purpose is to provide adequate thermal insulation of external wall of the building in order to reduce heat loss from the heated indoors to the environment and to prevent the development of mould on the interior walls. This process involves fixing a layer of insulation material to the wall followed be a reinforcing basecoat and mesh layer. A finish of your choice is then applied.
Our company simply follows Aval’s School of Insulation.
Stage 1 – Substrate preparation for insulation installation.
Any substrate that is to be installed should be stable, dry, even and clean. Careless preparation of the substrate results in most cases in disruption of the thermal insulation of the entire wall surface. Adhesion test is applied.
Stage 2 – Insulation Fixing.
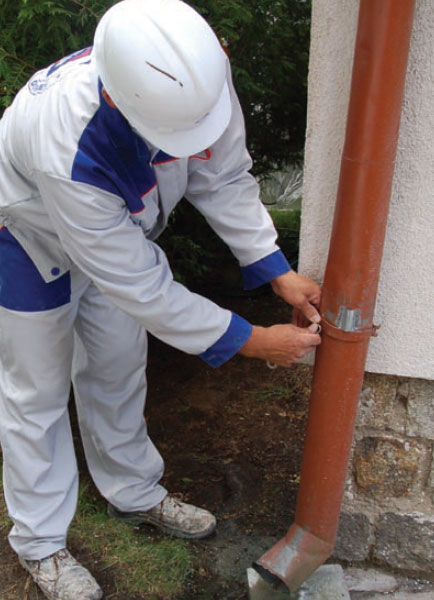 Before installing the insulation elements in the wall all sings, advertisements, gutters, downspouts, shutters lamps and window sills should be removed.
Next step is to apply layers of insulating materials:
- Polystyrene boards fixing - attached to the substrate mainly by using mineral adhesive.
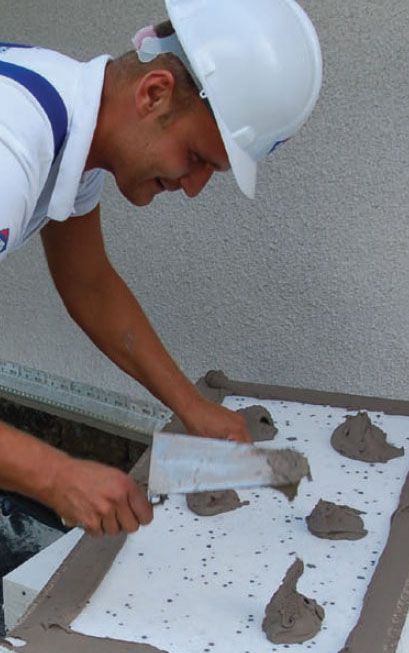 The ready-to-use mortar adhesive is applied on the surface on the board with the ‘strip-point’ method. The total area of adhesive applied should cover at least 40% of the board surface.
- Next board should be placed tightly next to so as to form a single plane. Large gaps between boards should be filled with strips of insulation materials and small one with expanding foam.

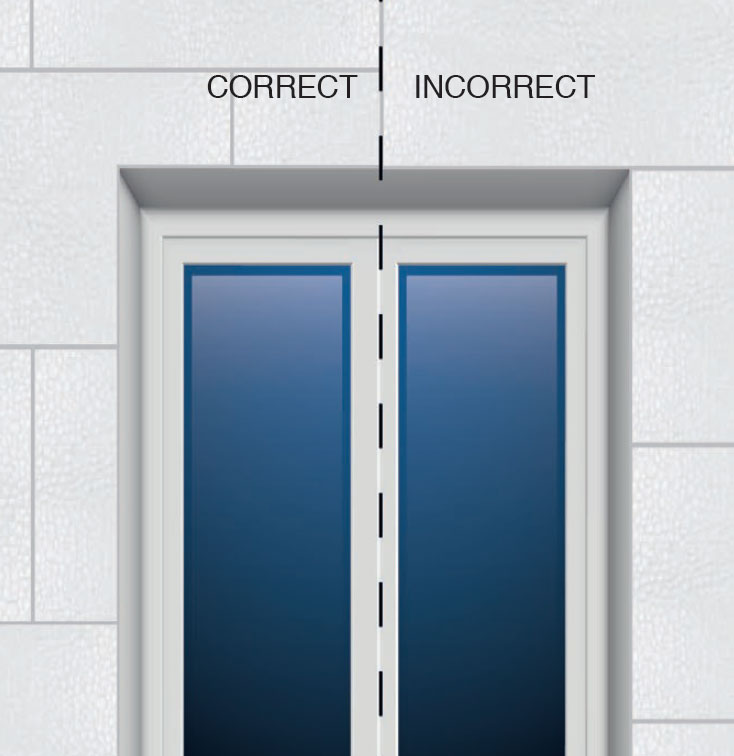
- Boards are arranged from the bottom to the top of an elevation, staggered in the so called brick’ on the wall surface and in the corners of the buildings. We do not use chipped, dented or broken boards.
- The next boards should be carefully pressed to avoid faults. The resulting inequality should be carefully levelled with a sandpaper or rasps.
- Mineral wool panels fixing - due to the hydrophobicity of the mineral wool it requires pre-filling (priming with adhesive) to form, so-called bonding layer. Wool panels are applied same as polystyrene boards with use of 'strip-point' method.
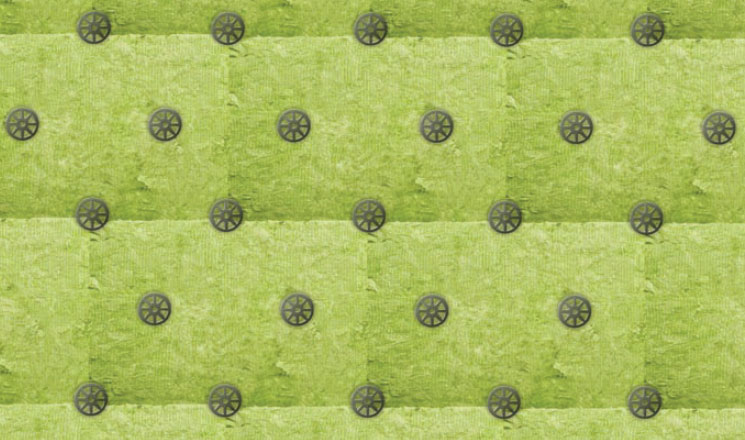
- Anchor fixing - fixing the insulation panels with the use of mechanical fasteners:
- System based on polystyrene – anchoring can commence only after 2-3 days and it is placed centrally on the surface of the boards. Adhesive must harden enough to prevent polystyrene boards from shifting during drilling holes for fasteners.
- System based on mineral wool - anchoring can commence immediately after the installation of the thermal insulation and is placed centrally and in the corners of neighbouring panels.
Stage 3 – Reinforcing layer execution (basecoat)
This stage consists of application of proper adhesive and embedding mesh on the insulation already installed.
- Choose proper adhesive and mesh
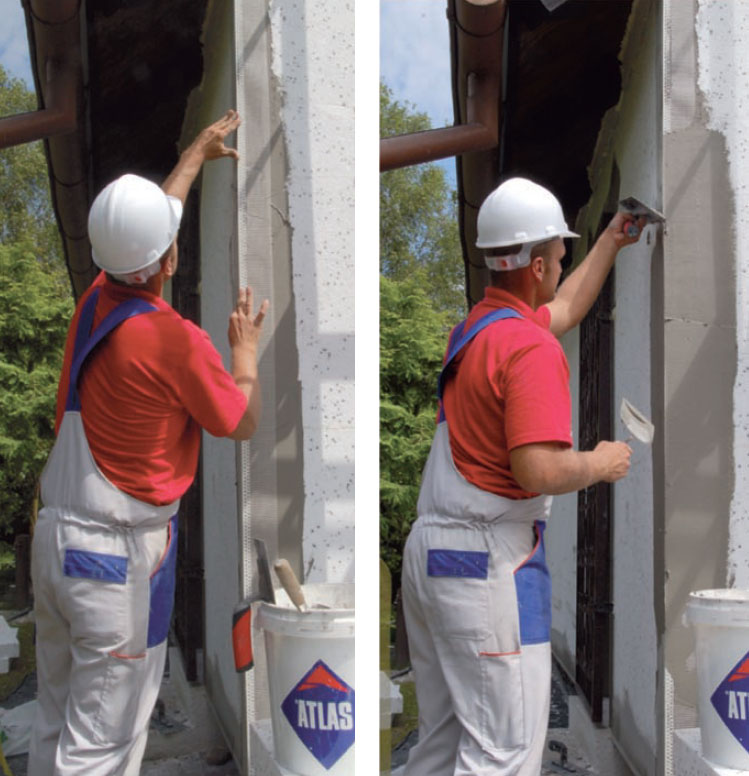
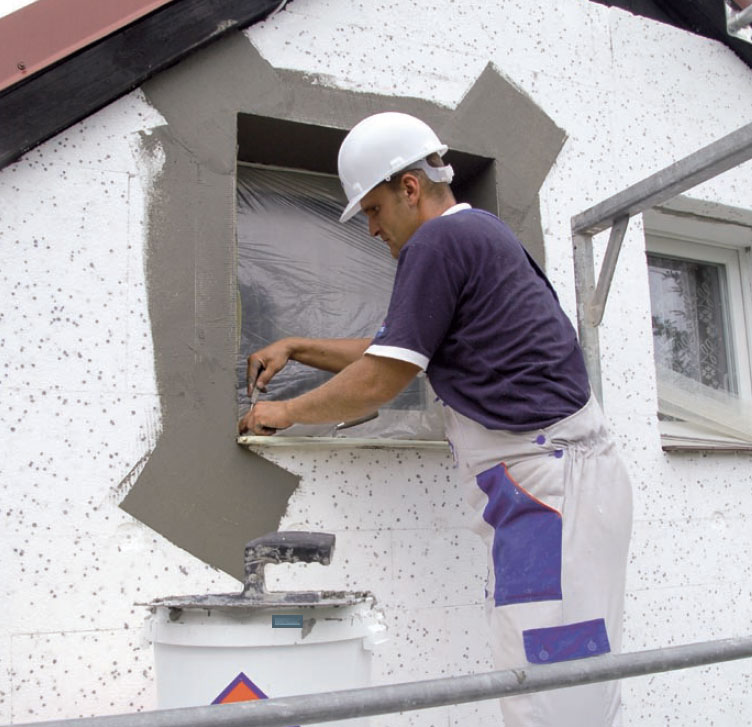
- Secure edges, corners of window and door reveals - this procedure is intended to avoid cracks that can appear even after a long time and can be seen directly on the finishing coat (render) layer.
- Reinforcing layer installation:
- Preparing reinforcing mesh strips
- Applying a layer of adhesive and spreading on a board surface
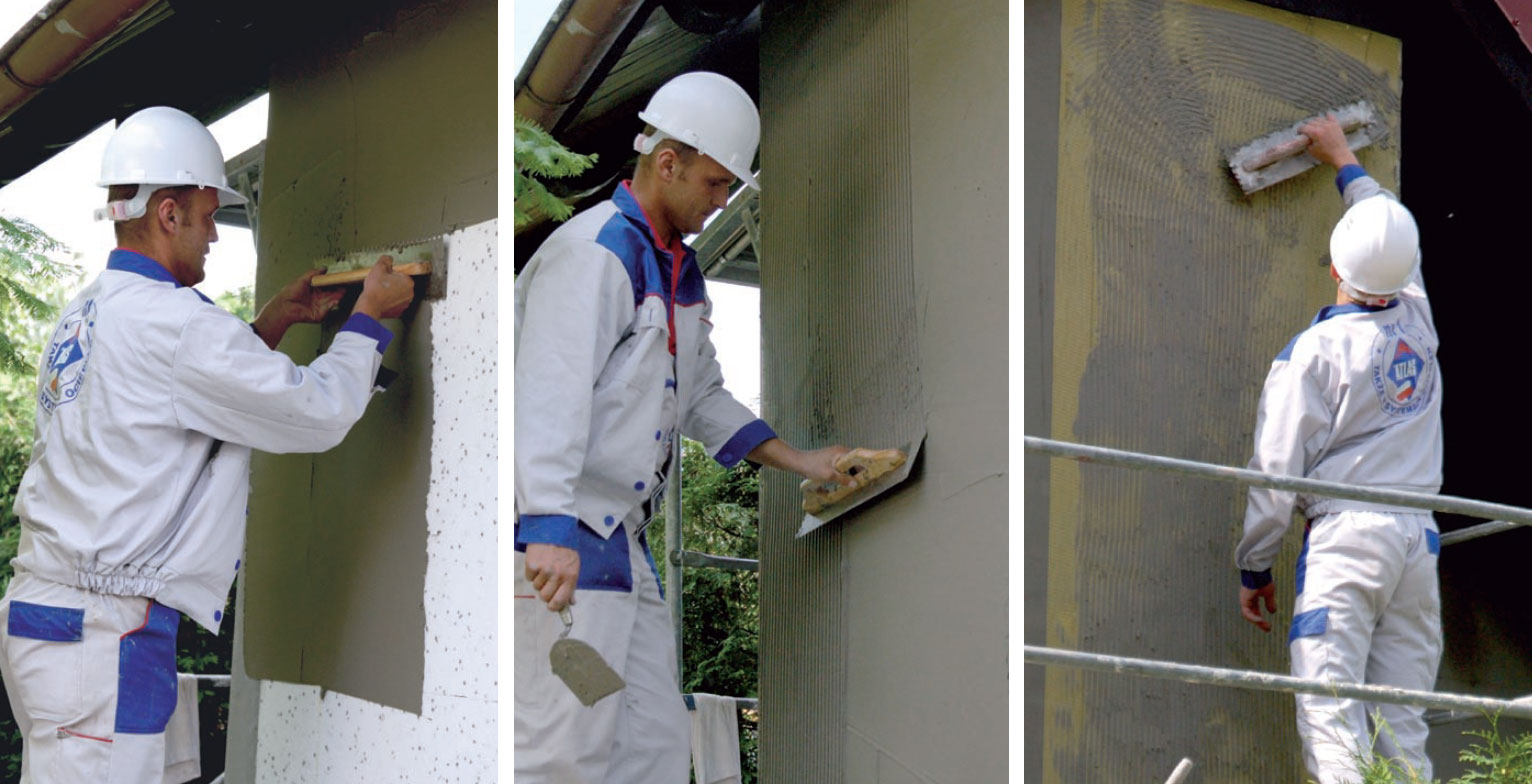
We proceed this way until entire wall surface is completed.
Stage 4 – Rendering
The role of renders is very important:
- Protects layers beneath from the harmful effects of weather conditions and against mechanical damages caused by various factor
- Regulates "breathing of building", i.e. transports in and out molecules of water vapour
- Gives a unique, attractive appearance, final character of the building.
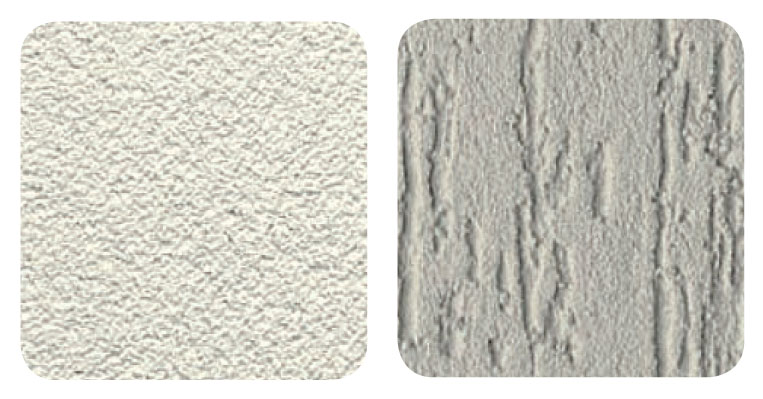
There are different types of renders: mineral, acrylic, silicone and silicate.
The process of render application must be preceded by the preparation of the substrate on which will be applied. To do it we should use priming mass. Priming mass is usually applied one day before the render, depending on weather condition. It can be applied in two ways:
- Manually with a brush or a roller
- Mechanically with a spray gun
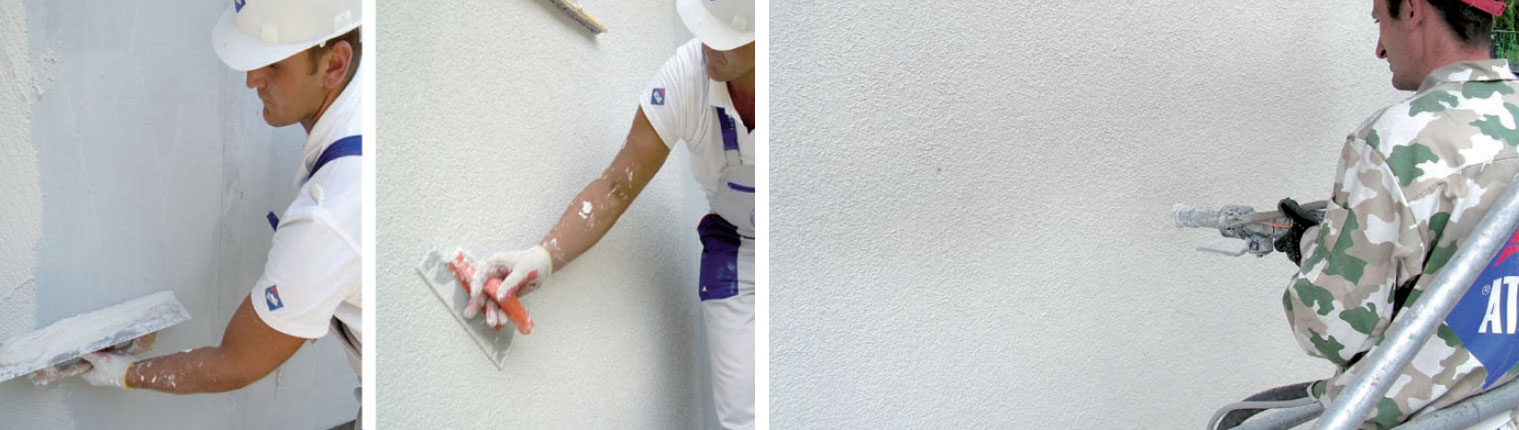
Render application - thin layer dyed render should be unconditionally applied "wet on wet" without any interruption over entire façade surface. It can be applied
- Manually by using ready-to-use renders
- Manually by using dry minerals renders
- Mechanically by spraying application of the renders (you can use ready to go or dry render)
- Texture forming which gives renders its final appearance (spotted or rustic texture)